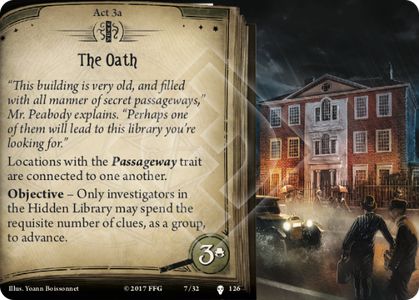
Akt. Stage 3
Lokalizacje z cechą Przejście są ze sobą połączone.
Cel - Tylko badacze znajdujący się w Tajnej bibliotece mogą, jako grupa, wydać wymaganą liczbę wskazówek, aby spowodować postęp talii.
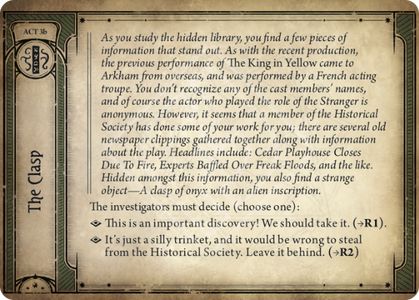
Brosza - Back
Badacze muszą wybrać jedną z opcji:
- To ważne odkrycie! Powinniśmy wziąć broszę. (→Z1).
- To tylko głupie świecidełko, poza tym to nie w porządku okradać Stowarzyszenie Historyczne. Zostawmy broszę. (→Z2)
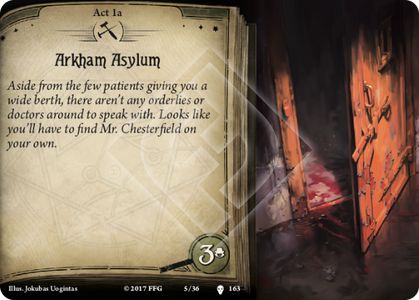
Akt. Stage 1
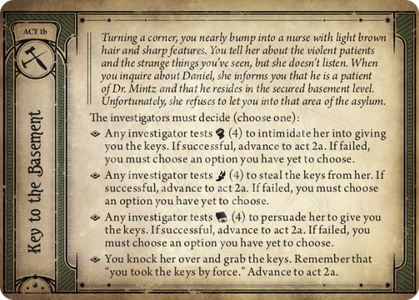
Klucz do piwnicy - Back
Badacze muszą wybrać jedną z opcji:
- Dowolny badacz wykonuje test (4), aby ją zastraszyć i zmusić do oddania wam kluczy. Jeśli test zakończy się sukcesem, spowoduj postęp do Aktu 2a. Jeśli test zakończy się porażką, musisz wybrać jedną opcję, której jeszcze nie wybrałeś.
- Dowolny badacz wykonuje test (4), aby ukraść jej klucze. Jeśli test zakończy się sukcesem, spowoduj postęp do Aktu 2a. Jeśli test zakończy się porażką, musisz wybrać jedną opcję, której jeszcze nie wybrałeś.
- Dowolny badacz wykonuje test (4), aby przekonać ją do oddania wam kluczy. Jeśli test zakończy się sukcesem, spowoduj postęp do Aktu 2a. Jeśli test zakończy się porażką, musisz wybrać jedną opcję, której jeszcze nie wybrałeś.
- Ogłuszasz ją i łapiesz klucze. Pamiętaj że "odebraliście klucze siłą". Talia postępuje do Aktu 2a.
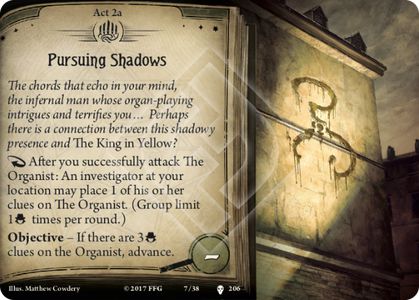
Akt. Stage 2
Po tym, jak uda ci się zaatakować Organistę (sukces): dowolny badacz w twojej lokalizacji może umieścić 1 ze swoich żetonów wskazówek na Organiście. (Limit grupowy 1 razy na rundę.)
Cel - Jeśli na Organiście znajduje się 3 żetonów wskazówek, talia postępuje
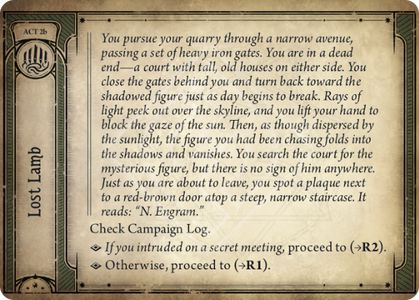
Zagubiona owieczka - Back
Sprawdź dziennik kampanii.
- Jeśli przerwaliście tajne spotkanie, przejdź do (→Z2).
- W przeciwnym wypadku przejdź do (→Z1).
Akt. Stage 2
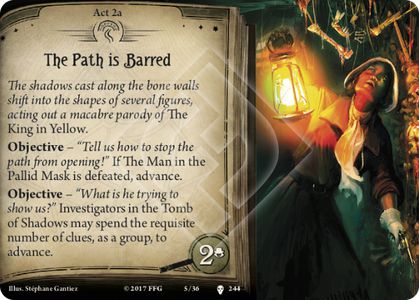
Cel - "Powiedz nam, jak powstrzymać otwarcie szlaku!" Jeśli Mężczyzna w bladej masce zostanie pokonany, talia postępuje.
Cel - "Co on próbuje nam pokazać?" Badacze znajdujący się w Grobowcu Cieni mogą, jako grupa, wydać wymaganą liczbę żetonów wskazówek, aby spowodować postęp talii.
Po drugiej stronie maski - Back
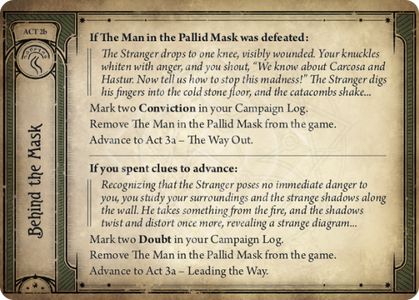
Jeśli Mężczyzna w bladej masce został pokonany:
Nieznajomy przyklęka. Jest wyraźnie ranny. Zaciskasz pięści ze wściekłości i krzyczysz: "Wiemy o Carcosie i Hasturze. Gadaj, jak powstrzymać ten obłęd!" Nieznajomy wbija palce w kamienną posadzkę i katakumby zaczynają się trząść...
Zaznaczcie w Dzienniku kampanii dwa Przeświadczenia.
Usuń z gry Mężczyznę w bladej masce.
Talia Postępuje do Aktu 3a - Droga wyjścia.
Jeśli badacze wydali wskazówki, aby spowodować postęp talii:
Widząc, że Nieznajomy nie zagraża ci w tej chwili, badasz otoczenie i przyglądasz się dziwnym cieniom na ścianach. Kiedy Nieznajomy zabiera coś z ognia, cienie wiją się i zmieniają ponownie, układając się w dziwny wzór...
Zaznaczcie w Dzienniku kampanii dwie Wątpliwości.
Usuń z gry Mężczyznę w bladej masce.
Talia postępuje do Aktu 3a - Wskazanie drogi.
Akt. Stage 2
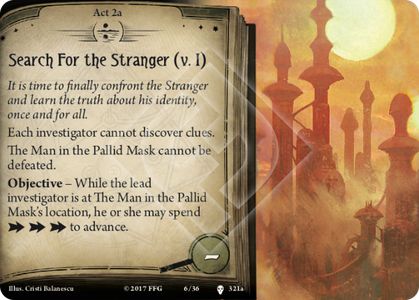
Żaden badacz nie może odkrywać żetonów wskazówek.
Mężczyzna w bladej masce nie może zostać pokonany.
Cel - Dopóki główny badacz znajduje się w lokalizacji Mężczyzny w bladej masce, może wydać , aby spowodować postęp talii.
Blada Maska
Goniąc własny ogon
Atut
Przedmiot. Relikt.
Cost: 0.
Odkrycie - Umieść Bladą maskę w grze, pod kontrolą głównego badacza. Usuń Mężczyznę w bladej masce z gry. Rozstaw odłożonego na bok wroga Hastura (Król w Łachmanach) w Pałacu Króla.
Blada maska nie może opuścić gry.
Dostajesz -2 poczytalności.

Akt. Stage 2
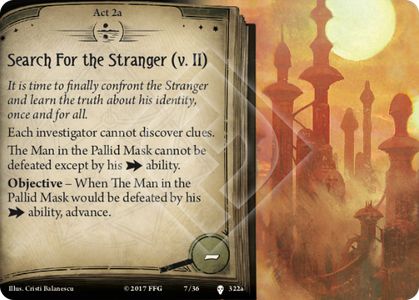
Żaden badacz nie może odkrywać żetonów wskazówek.
Mężczyzna w bladej masce może być pokonany tylko przez jego zdolność .
Cel - Kiedy Mężczyzna w bladej masce miałby zostać pokonany przez jego zdolność , talia postępuje.
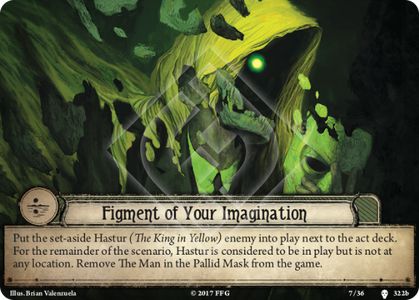
Wytwór twojej wyobraźni - Back
Umieść odłożonego na bok wroga Hastura (Król w Żółci) w grze, obok talii aktów. Do końca tego scenariusza uznaje się, że Hastur jest w grze, ale nie znajduje się w żadnej lokalizacji. Usuń Mężczyznę w bladej masce z gry.
Akt. Stage 2
Żaden badacz nie może odkrywać żetonów wskazówek.
Mężczyzna w bladej masce może być pokonany tylko przez zadanie mu obrażeń.
Cel - Kiedy Mężczyzna w bladej masce miałby zostać pokonany przez mu obrażeń, talia postępuje.
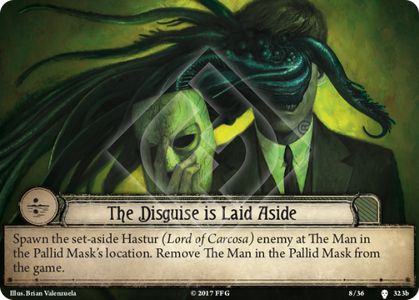
Zdjęcie przebrania - Back
Rozstaw odłożonego na bok wroga Hastura (Władca Carcosy) w grze, w lokalizacji Mężczyzny w bladej masce. Usuń Mężczyznę w bladej masce z gry.

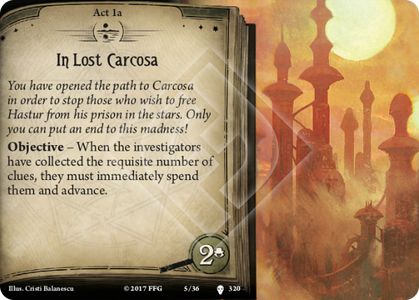
Akt. Stage 1
Cel - Kiedy gracze zebrali wymaganą liczbę żetonów wskazówek, muszą natychmiast je wydać, aby spowodować postęp talii.
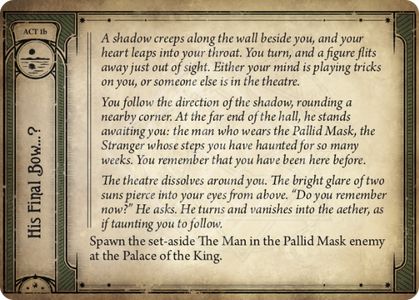
Jego ostatni ukłon...? - Back
Ruszasz w ślad za cieniem i skręcasz za róg, Na przeciwległym końcu korytarza ktoś stoi, czekając na ciebie: mężczyzna noszący Bladą Maskę, Nieznajomy, i odgłos jego kroków, który prześladował cię przez tak wiele tygodni. Pamiętasz, że już kiedyś byłeś w tym miejscu.
Teatr wokół ciebie zaczyna znikać. Jasny blask dwóch słońc razi cię w oczy. "Czy teraz pamiętasz?" - pyta. Następnie odwraca się i znika w eterze, jakby z ciebie drwił.
Rozstaw odłożonego na bok wroga Mężczyznę w bladej masce w Pałacu Króla.
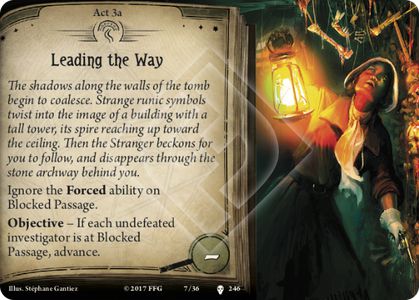
Akt. Stage 3
Zignoruj Wymuszoną zdolność na Zawalonym przejściu.
Cel - Jeśli każdy niepokonany badacz znajduje się na Zawalonym przejściu, talia postępuje.
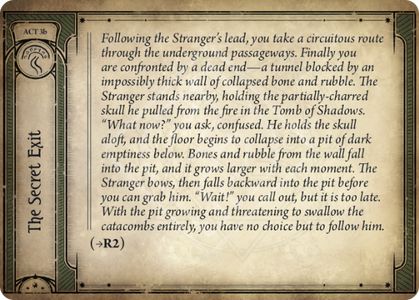
Tajne wyjście - Back
(→Z2)
Akt. Stage 1
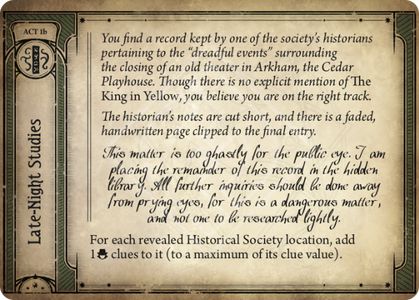
Nocne studia - Back
Notatki historyka kończą się nagle, a przy ostatnim wpisie doczepiona jest wyblakła kartka z odręcznym pismem.
Ta sprawa jest zbyt upiorna, by opisywać ją publicznie. Resztę sprawozdania umieszczam w tajnej bibliotece. Dalsze dociekania winny mieć miejsce z dala od wścibskich oczu, bowiem to wiedza wyjątkowo niebezpieczna i nie należy jej zgłębiać lekkomyślnie.
Za każdą odkrytą lokalizację Stowarzyszenie Historyczne dodaj 1 żetonów wskazówek na każdą taką lokalizację (nie przekraczając jej maksymalnej wartości wskazówek).

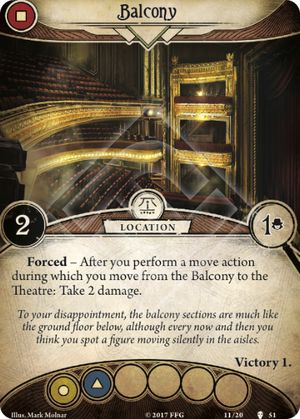
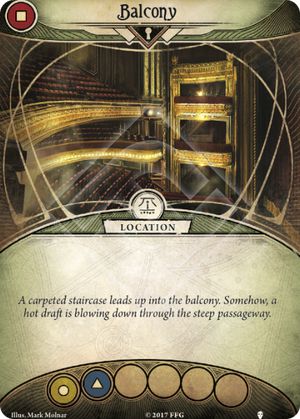
Balkon - Back
Lokalizacja
Wymuszony - Po tym, jak wykonasz akcję poruszania się, podczas której poruszysz się z Balkonu do Teatru: otrzymujesz 2 obrażenia.
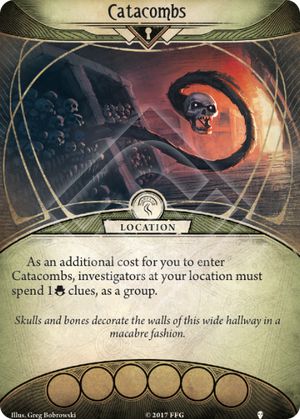
Katakumby - Back
Jako dodatkowy koszt twojego wejścia do Katakumb badacze znajdujący się w twojej lokalizacji muszą wydać, jako grupa 1 żetonów wskazówek.
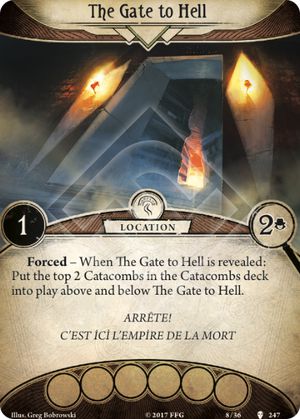
Lokalizacja
Wymuszony - Odkrycie Bramy do Piekła: umieść 2 wierzchnie Katakumby z talii Katakumb w grze, nad i pod Bramą do Piekła.
C'EST ICI L'EMPIRE DE LA MORT
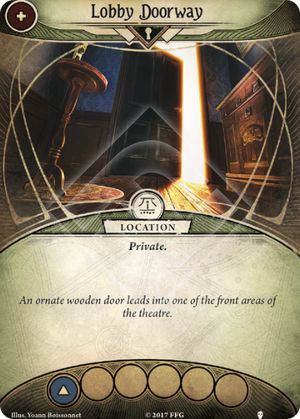
Drzwi w przedsionku - Back
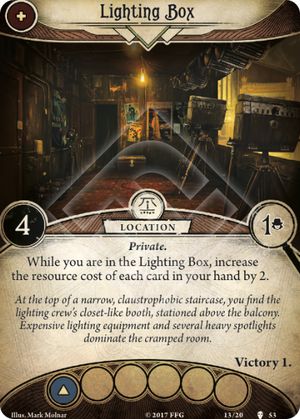
Lokalizacja
Prywatna.
Dopóki znajdujesz się w Budce oświetleniowca, zwiększ o 2 koszt w zasobach każdej karty na twojej ręce.
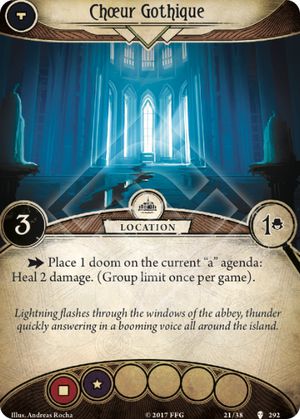
Chór gotycki - Back
Lokalizacja
Umieść 1 żeton zagłady na obecnej tajemnicy „a”: wylecz 2 obrażenia. (Limit grupowy 1 raz na grę).
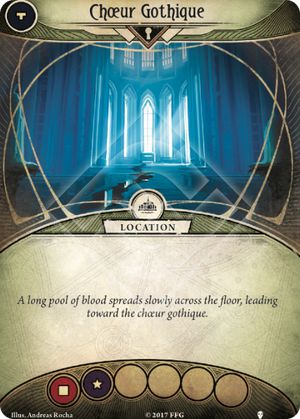
Chór gotycki - Back
Lokalizacja
Umieść 1 żeton zagłady na obecnej tajemnicy "c": wylecz 2 punkty przerażenia. (Limit grupowy 1 raz na grę).


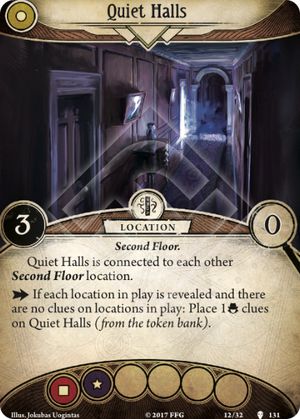
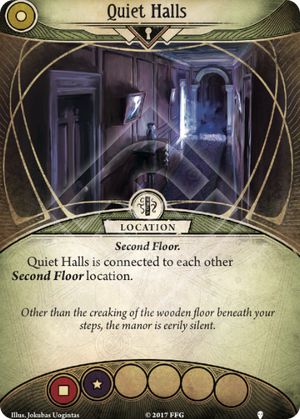
Ciche korytarze - Back
Ciche korytarze są połączone z każdą inną lokalizacją z cechą Drugie piętro.
Lokalizacja
Drugie piętro.
Ciche korytarze są połączone z każdą inną lokalizacją z cechą Drugie piętro.
Jeśli każda lokalizacja w grze jest odkryta i na lokalizacjach w grze nie ma żadnych żetonów wskazówek: umieść 1 żetonów wskazówek na Cichych korytarzach (z puli żetonów).
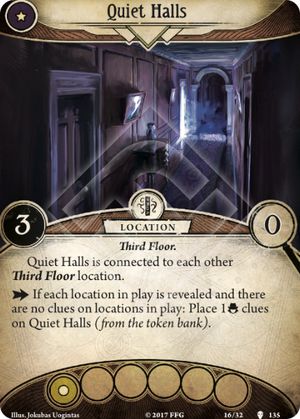
Ciche korytarze - Back
Ciche korytarze są połączone z każdą inną lokalizacją z cechą Trzecie piętro.
Lokalizacja
Trzecie piętro.
Ciche korytarze są połączone z każdą inną lokalizacją z cechą Trzecie piętro.
Jeśli każda lokalizacja w grze jest odkryta i na lokalizacjach w grze nie ma żadnych żetonów wskazówek: umieść 1 żetonów wskazówek na Cichych korytarzach (z puli żetonów).

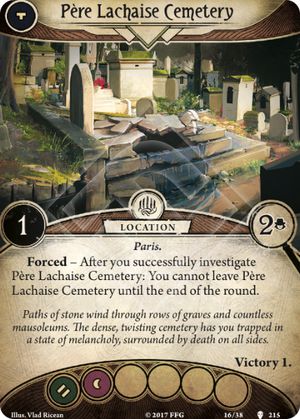
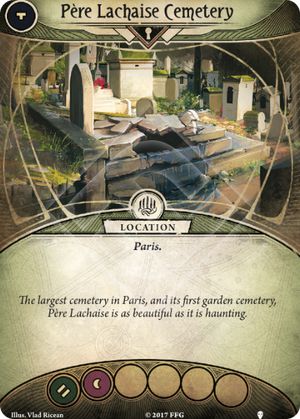
Cmentarz Père Lachaise - Back
Lokalizacja
Paryż.
Wymuszony - Po tym, jak uda ci się zbadać (sukces) Cmentarz Père Lachaise: do końca tej rundy nie możesz opuścić cmentarza Père Lachaise.
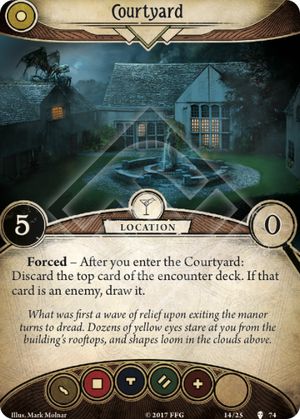
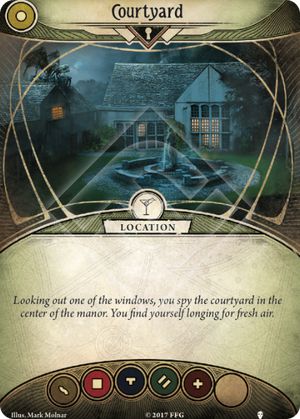
Dziedziniec - Back
Lokalizacja
Wymuszony - Po tym, jak wejdziesz na Dziedziniec: odrzuć wierzchnią kartę z talii spotkań. Jeśli dana karta jest wrogiem, dobierz ją.
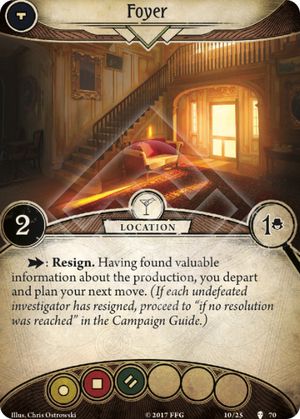
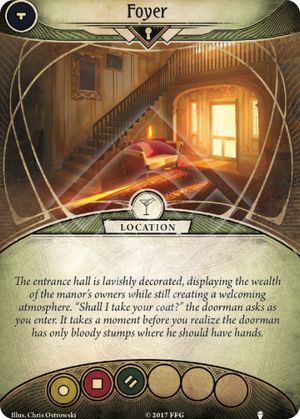
Foyer - Back
Lokalizacja
: Rezygnacja. Będąc w posiadaniu cennych informacji na temat sztuki, postanawiacie się wycofać i zaplanować wasz kolejny ruch. (Jeśli każdy niepokonany badacz zrezygnował, przejdź do sekcji „Nie udało się osiągnąć żadnego zakończenia” w Księdze kampanii).